
How To Solder Copper Pipe
How To Solder Copper Pipe

Soldering copper pipe creates permanent, leak-proof joints by melting a filler metal into heated pipe fittings using a blowtorch. It is a straightforward skill to master with careful pipe cleaning and the correct flux, but all gas pipework must be left to a Gas Safe registered engineer.
This guide will go through all the steps required on how to solder a copper pipe. Always use lead-free solder for drinking water supplies, as lead solder is illegal for potable water pipework under the Water Supply (Water Fittings) Regulations 1999.
Shop Soldering Related Categories

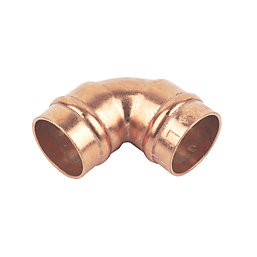
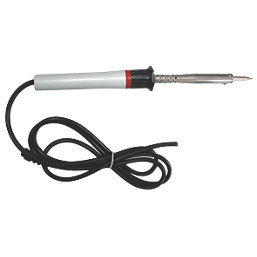
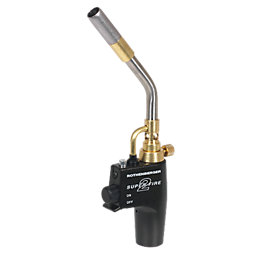

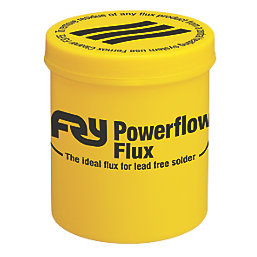
Key Takeaways
-
Preparation – Isolate the water supply, drain the system, then cut, deburr, and clean the pipe to bright copper before fluxing, since any leftover moisture or oxidation stops the joint bonding properly.
-
Heating and soldering – Direct the flame onto the fitting (never the solder), and feed lead-free solder into the opposite side until a bright, complete ring forms around the joint.
-
Cooling and testing – Let the joint cool naturally before wiping away flux residue, restore the water supply gradually, then inspect visually and recheck over the following hours for slow leaks.
-
Safety and limits – Ventilate the area, protect nearby surfaces from the flame, and never solder gas pipework; call a Gas Safe engineer for gas, or use compression fittings if you're not confident with a blowtorch.
Tools and Materials You'll Need to Solder Copper Pipe
Having the correct tools and materials ready helps make the process of soldering copper pipe easier, which can ensure a clean, leak-free joint the first time.
Tools:
-
Wire wool or abrasive pad
-
Flux brush
-
Heatproof mat
-
Inspection mirror
Materials:
-
Copper pipe and fittings
-
Lead-free solder
How to Solder Copper Pipe: Step-by-Step
Follow this three-step process for how to solder copper pipe correctly the first time. From isolating the water supply and preparing the joint to heating the fitting and checking your work, this guide gives you a clear, sequential process to follow from start to finish, whether you're fixing a single joint or fitting new pipework throughout.
Phase 1: Prep & Isolation
-
Isolate and drain: Before you start to solder copper pipe, isolate the main water supply and drain the pipework completely. Use a pipe freezing kit if isolating the entire system isn't practical.
-
Cut the pipe: Cut the copper pipe square using a wheel pipe cutter to ensure a flush fit into the socket.
-
Deburr the edges: Deburr the inside and outside edges of the cut pipe with a reamer or file to remove all sharp burrs.
-
Clean to bright copper: Clean the outer end of the pipe and the inner socket of the fitting using wire wool or an abrasive pad until the copper is bright and shiny. Any dirt, oxidation, or water left on the metal will prevent the solder from bonding securely.
Phase 2: Fluxing & Heating
Apply a thin, even coat of soldering flux to the outer pipe end and inner fitting socket using a brush, then push the joint fully together immediately. Wipe away excess flux to prevent corrosion. Position your heatproof mat behind the joint and light the blowtorch.
Direct the flame onto the centre of the fitting socket, not the solder or the pipe, to heat the metal evenly, one of the most important steps when soldering copper pipe. Touch the lead-free solder wire to the opposite side of the joint; when the fitting reaches the correct temperature, capillary action draws the liquid solder into the gap to seal the joint, the same principle that applies across most copper pipe fittings regardless of size. Hold the flame in place until a bright ring of solder appears fully around the joint, confirming it's sealed.
Phase 3: Soldering & Testing
Touch the lead-free solder wire to the joint opposite the heat source until it melts and flows evenly around the socket, forming a complete ring. Remove the torch immediately to avoid overheating the flux. Allow the joint to cool naturally, around 2-5 minutes for standard pipe and longer for larger diameters, without moving the pipework, then wipe away all acidic flux residue with a damp cloth to prevent long-term corrosion. Restore the water supply gradually to pressurise the system. Inspect the connection visually using an inspection mirror, then re-check every few hours to ensure no slow leaks occur.
What's the Correct Solder and Flux for Copper Pipe?
When soldering copper pipe, always use lead-free solder (typically 95/5 tin-antimony alloy) for drinking water pipework. Under the Water Supply (Water Fittings) Regulations 1999, using lead-based solder on potable water supplies is illegal. Lead solder melts at lower temperatures and remains legal for closed-loop heating systems, since the regulation's ban applies specifically to drinking water pipework. Even so, many plumbers now use lead-free solder throughout to avoid any risk of mixing up heating and potable pipework.
Matching the correct flux and solder keeps your pipework safe and compliant.
Safety Precautions for Soldering Copper Pipe
Follow these essential safety steps to solder copper pipe safely and prevent fire, injury, and surface damage when using a flame:
-
Ventilate the work area: Open windows and doors to disperse soldering flux fumes.
-
Protect surfaces: Place a heatproof mat behind the joint to shield timber, insulation, and nearby surfaces.
-
Keep fire controls ready: Store a fire extinguisher or wet cloth within arm's reach.
-
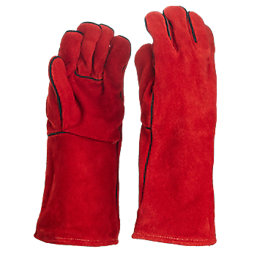
Wear protective gloves: Acidic flux causes stinging on skin or open cuts.
-
Never solder gas lines: Stop immediately and hire a Gas Safe registered engineer for gas pipework.
-
Inspect hidden areas: Check joists and floorboards for scorch risks before working under floors.
Common Mistakes To Avoid And When To Call a Plumber
Soldering copper pipe yourself is a practical DIY skill for straightforward surface runs, but tight overhead spaces, work near exposed timber, or any gas pipework demand professional intervention. Always hire a Gas Safe registered engineer for gas systems. If you are not confident with a blowtorch or need a quick one-off repair, use mechanical compression fittings for a heat-free, reliable alternative.
Read our range of Screwfix plumbing and pipework guides to pick the right fittings, tools, and solder for your next job.