How To Change A Door Handle
How To Change A Door Handle

Changing a door handle is easier than you think. In fact, replacing internal door handles is as simple as having a few handy tools and a step-by-step guide. Which is what we’ve put together for you here.
In this guide, we’ll walk you through removal of a door handle and all its components and replacing one, too. Advising you what’s best for functionality and the overall look, without the need to call in a professional.
Whether you’re looking to update your current aesthetic, you’ve got stiff handles, or your mechanisms are loose from too much use, read on to find out how to change a door handle.
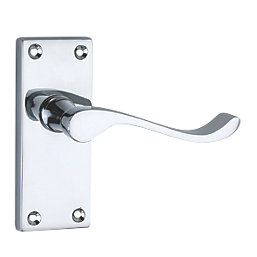
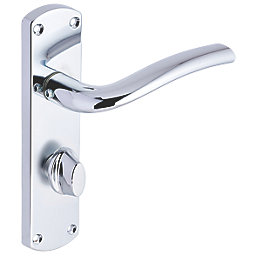
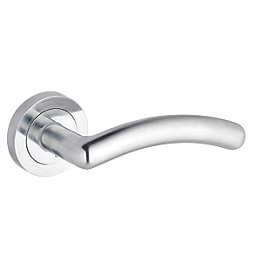
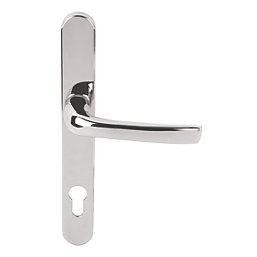
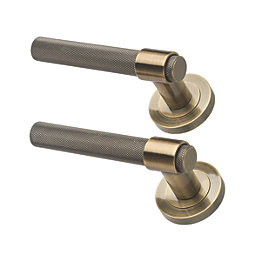
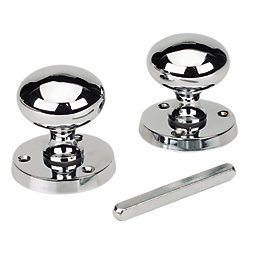
Shop Door Handle Related Categories

Tools and materials needed for changing door handles
Changing door handles is easy if you have the right tools and materials. We’ve listed all the necessary and optional bits of kit you’ll need to replace your handle or knob. Be sure to check your door handles before you replace them to be certain what you need.
Your new door handle might be out of measurement from your old one, so you may need to drill new holes. Or if you’re going from a handle to a knob the backset might need altering. Or your new cover plate might not cover the old door hole entirely, so you’ll need wood filler and suitable coloured paint to cover the gap.
Whichever it is, check your current mechanism before you buy another to ensure compatibility. Then, if you want to change dynamics, you know which tools and materials you’ll need.
Essential tools and materials
-
New door knob or door handle
Optional tools and materials
How to change a door handle step-by-step
Step 1. Remove the old door handle
Ensure you have your door stop placed so your door is half-open, allowing you to see both sides of the handle. Using your flathead screwdriver, apply force to a small slot in the side, called the pressure release, and pull off the door handle.
No pressure release? Then unscrew or untwist the cover plates from your door. That’s the circular or rectangular metal or plastic that covers the door hole. Dependent on type, use your Philips screwdriver, an allen key, or by hand.
Step 2. Take out the door latch
The latch comprises a few parts, with the strike plate visible on the side of the door where the latch bolt, which goes in and out when you pull the handle down, sits.
Make sure you’ve removed the spindle and from the strike plate, unscrew the top and bottom screws and gently pull out the assembly. Sometimes, the mechanism can be wedged in. If so, use a chisel to pry the stubborn component from the door.
Step 3. Prepare the new door handle
Use your tape measure to determine the distance between the door’s inside edge to the middle of the door hole where the handle used to be, using a pen or pencil to mark your measurements.
This is your backset. When changing door handles or knobs, backset alignment between your old and new parts is crucial. If the backset is misaligned, drilling new holes or filling the old ones with wood filler and then painting over them are some of your options.
Another is replacing the door entirely. Plus, a larger backset is usually required if you change from a handle to a knob to prevent knuckles scraping the door.
Step 4. Install the new door latch
Slide your new latch mechanism into the inside of the door, making sure it sits flush, and push the spindle through the door hole. If you're replacing internal door handles with a lock, slide that through as well.
With everything aligned and in place, screw the latch in place on the strike plate. Latch assemblies come in a standard size so there shouldn’t be an issue. However, if it’s tight or resisting insertion, use your bolster to carefully change the size.
Step 5. Attach the new door handle
Changing door handles is easy, and attaching a new one is just as simple. Guide your handles or knobs and the corresponding cover plate over the spindle, making sure they align on either side of your door.
Some door handles have inner plates, too. If so, screw these into place before your covers. When aligned, screw them into place.
Step 6. Test the changed door handle
Door handle or knob fitted? Now to test. Check the latch sits in the door frame hole correctly and that the handle or knob move as they should.
Open and shut the door numerous times to be sure everything's ok. If the latch sticks, chisel away to increase the hole size. For loose handles or knobs, tighten your screws.
Common mistakes when changing a door handle
It’s easy to change door handles, but there are some basic blunders you can come across. To ensure you change a door handle effectively, here’s what to avoid.
-
Upside down latch - Some install it back to front or bottom to top. There are usually directions on the part. If not, know that the latch bolt and strike plate should face out.
-
Ignoring packet instructions - Not adhering to or not reading the manufacturer’s guidelines could result in its own wobble. Check them before replacement.
-
Loose screws - Handles or knobs that wobble indicate unfastened screws. Tighten them, but don’t go overboard as you don’t want to damage their threads.
-
Door thickness - Your screws could be too short, or your latch too small. This could be down to your door depth. Measure it before your buy your handle or knob.
-
Zero testing - You’ve replaced the handle but didn’t test? Means you won’t catch stiff handles or sticky latches. Leaving them to affect operation.
-
Misaligned parts - If your latch or spindle isn’t correctly aligned, your latch might not depress or fit evenly into the door gap.
-
Spindle not to spec - If your spindle isn’t measured to fit your door mechanism might not work at all.
Key considerations when changing a door handle
You now know how to change a door handle easily and effectively. You know the essential and optional tools you’ll need as well as how to remove the door handle and latch with ease. After, you know measurement and aligning relevant parts is key when fitting a new latch and handles or knobs.
Added to that, you know all the common mistakes to avoid. Errors like misaligned parts, not measuring door thickness, and not testing your handle or knob, to make sure it works as it should, when you’re all done. Ensuring a professional finish.
But when it comes to replacing a door handle, you’ve got it locked down. However, if you’re thinking of how do I hang a door, you can click the link to find out.